Showing posts with label Common Core. Show all posts

Saturday, May 12, 2018

How to Foster Empathy in Students Using Project Based Learning in an ELA Classroom.

Image Credit: Pixabay User fancycrave1 / Public Domain
Noisy and energetic like any scene during lunch, my students can be found sprawled throughout my classroom, intent on seizing the coveted title: Inventors of the Year.
Though my story may be seem to be specific to my English language arts classroom, I think there are larger implications of the importance of incorporating empathy with project based learning. In this instance, every year, my students read Daniel Keyes’ “Flowers for Algernon,” a fictional story about a man’s extreme quest for intelligence and his willingness to undergo a radical surgery to increase his mental abilities. My students are always fascinated by this story, and they enjoy debating the merits of the operation. They write reflections, engage in discussions, and compose essays during this unit – all classically rigorous activities that require critical thinking skills. However, I wanted my students to do more than just study the story from an academic perspective. I wanted them to not just appreciate their natural-born abilities but for them to realize and explore what it would be like to live with a disability, hopefully leading to an empathic understanding that will last a lifetime.
An Invention for People with a Disability
As I pondered this one night well over 10 years ago, I did what I always do when coming up with lesson ideas. I asked myself how I could design an assignment that could simulate real experiences, a life outside the walls of a classroom and the world in which we lived. Then inspiration hit. I could ask them to become scientific inventors and imagine the impossible.
My students were challenged with creating a product that will improve the life of someone with a disability, in essence, an Invention of the Year.  The product must be a device that people with disabilities can use in their daily lives, and it cannot be a miracle drug or an operation that will magically conjure away the disability.
First, each team had to choose a disability to research and were directed to medical websites to learn about their topic. We talked about the importance of credible web resources and how to find experts on any given research topic. At the time when I first conceived of this project years ago, the Common Core State Standards had not yet been introduced to schools. What inspired this idea was my long-standing belief that real-world applications should be at the core of all my lessons. Therefore, using informational texts like medical articles fit in perfectly with the adoption of a CCSS curriculum.
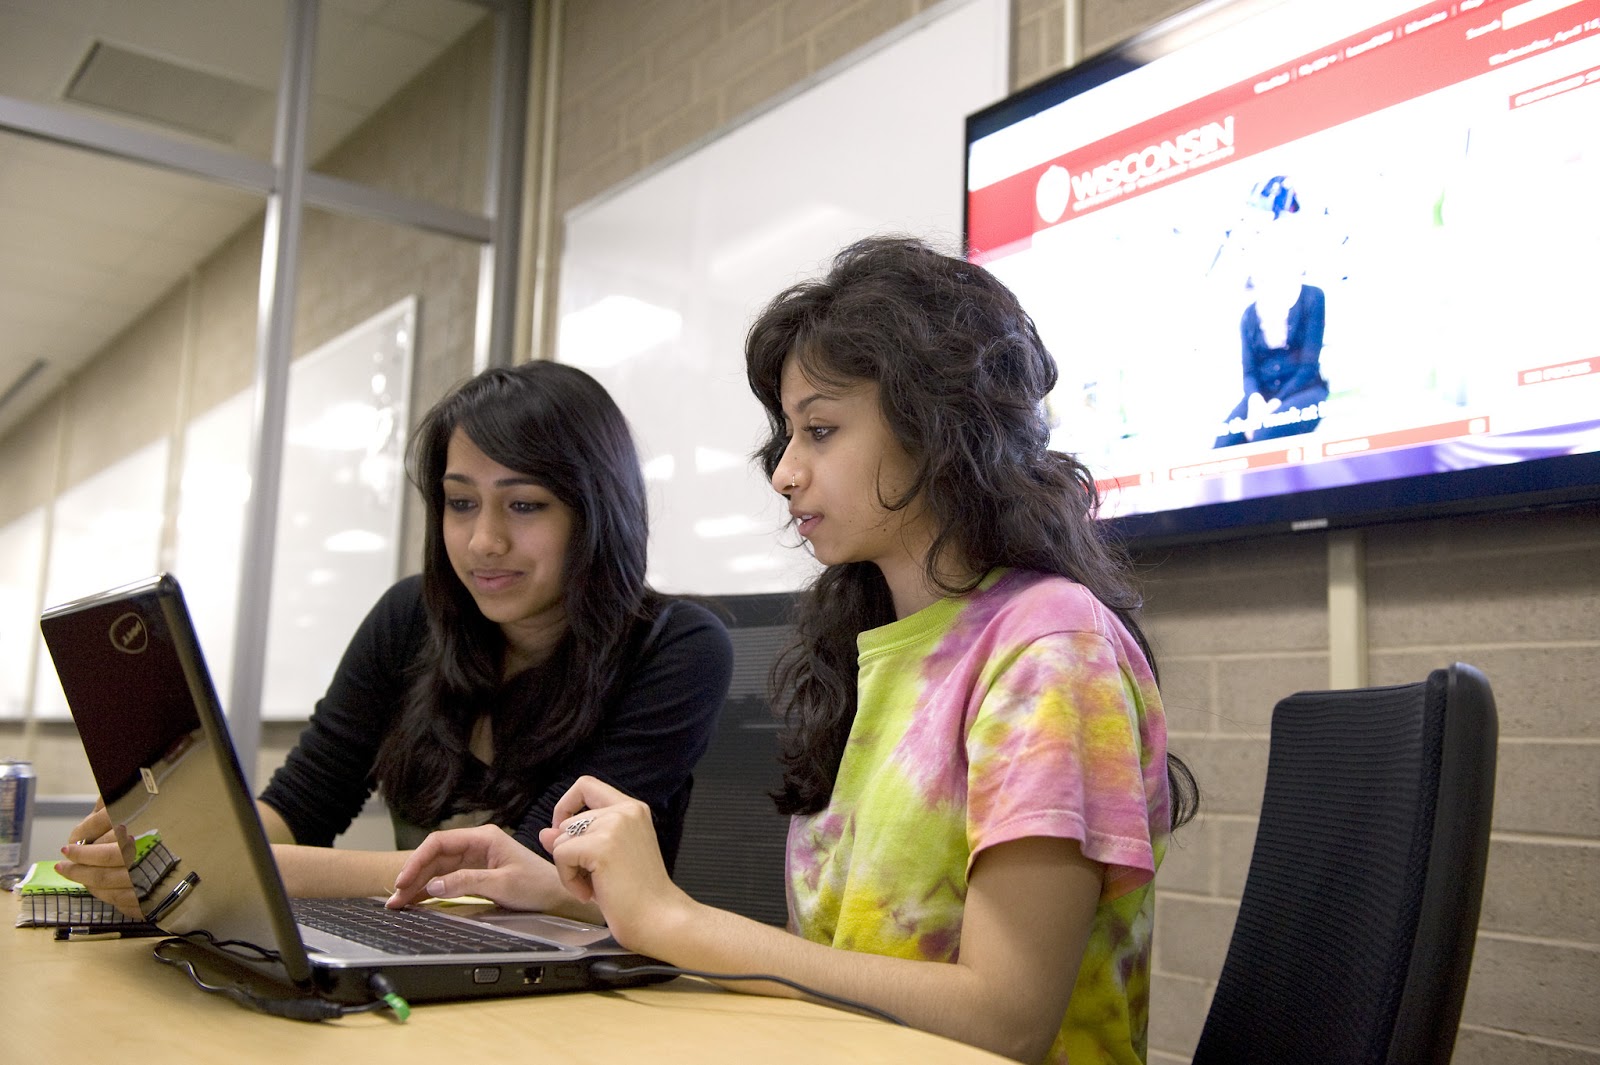
When doing their research, students brainstormed many different ways they could help someone with the disability. Then they created three final works: a prototype sketch of their invention, a product description for the purpose of "selling" their invention, and a user guide. To guide them, I shared examples of product descriptions from online vendors like Amazon, which they examined and emulated. I also shared examples of user manuals from real products we use in our lives. With these professional examples as their model, my students were practicing writing skills beyond those required in a traditional English language arts classroom.
The Culminating Expo
The culminating activity in this project was to debut students’ products at the Invention of the Year Expo. Over the years, I was able to convince the other language arts teachers who also taught this story to join me in this endeavor. My colleagues liked the idea of incorporating more informational texts and taking PBL approach to this curriculum unit. As a result of this collaboration, we decided to hold an expo where all our students would showcase their inventions in the multipurpose room and present their ideas to each other.
Anxious and yet excited, the entire eighth grade met during their language arts period throughout the day to show off their inventions or to learn new ideas from their peers. By the end of the school day, they saw some amazing inventions such as computerized glasses that speak and project holograms (this example is from many years ago, before anyone had even heard of Google Glass). Other creative projects include a GPS-equipped walking cane with self-defense mechanism for the blind and surgically implantable microchips that moderated electrical signals in the brain (which I later discovered is not too far from the impossible as a few companies are currently trying to develop this technology to measure electrical brain activity to predict epileptic seizures). In the end, our expo was a success, and students talked about it for days afterwards.
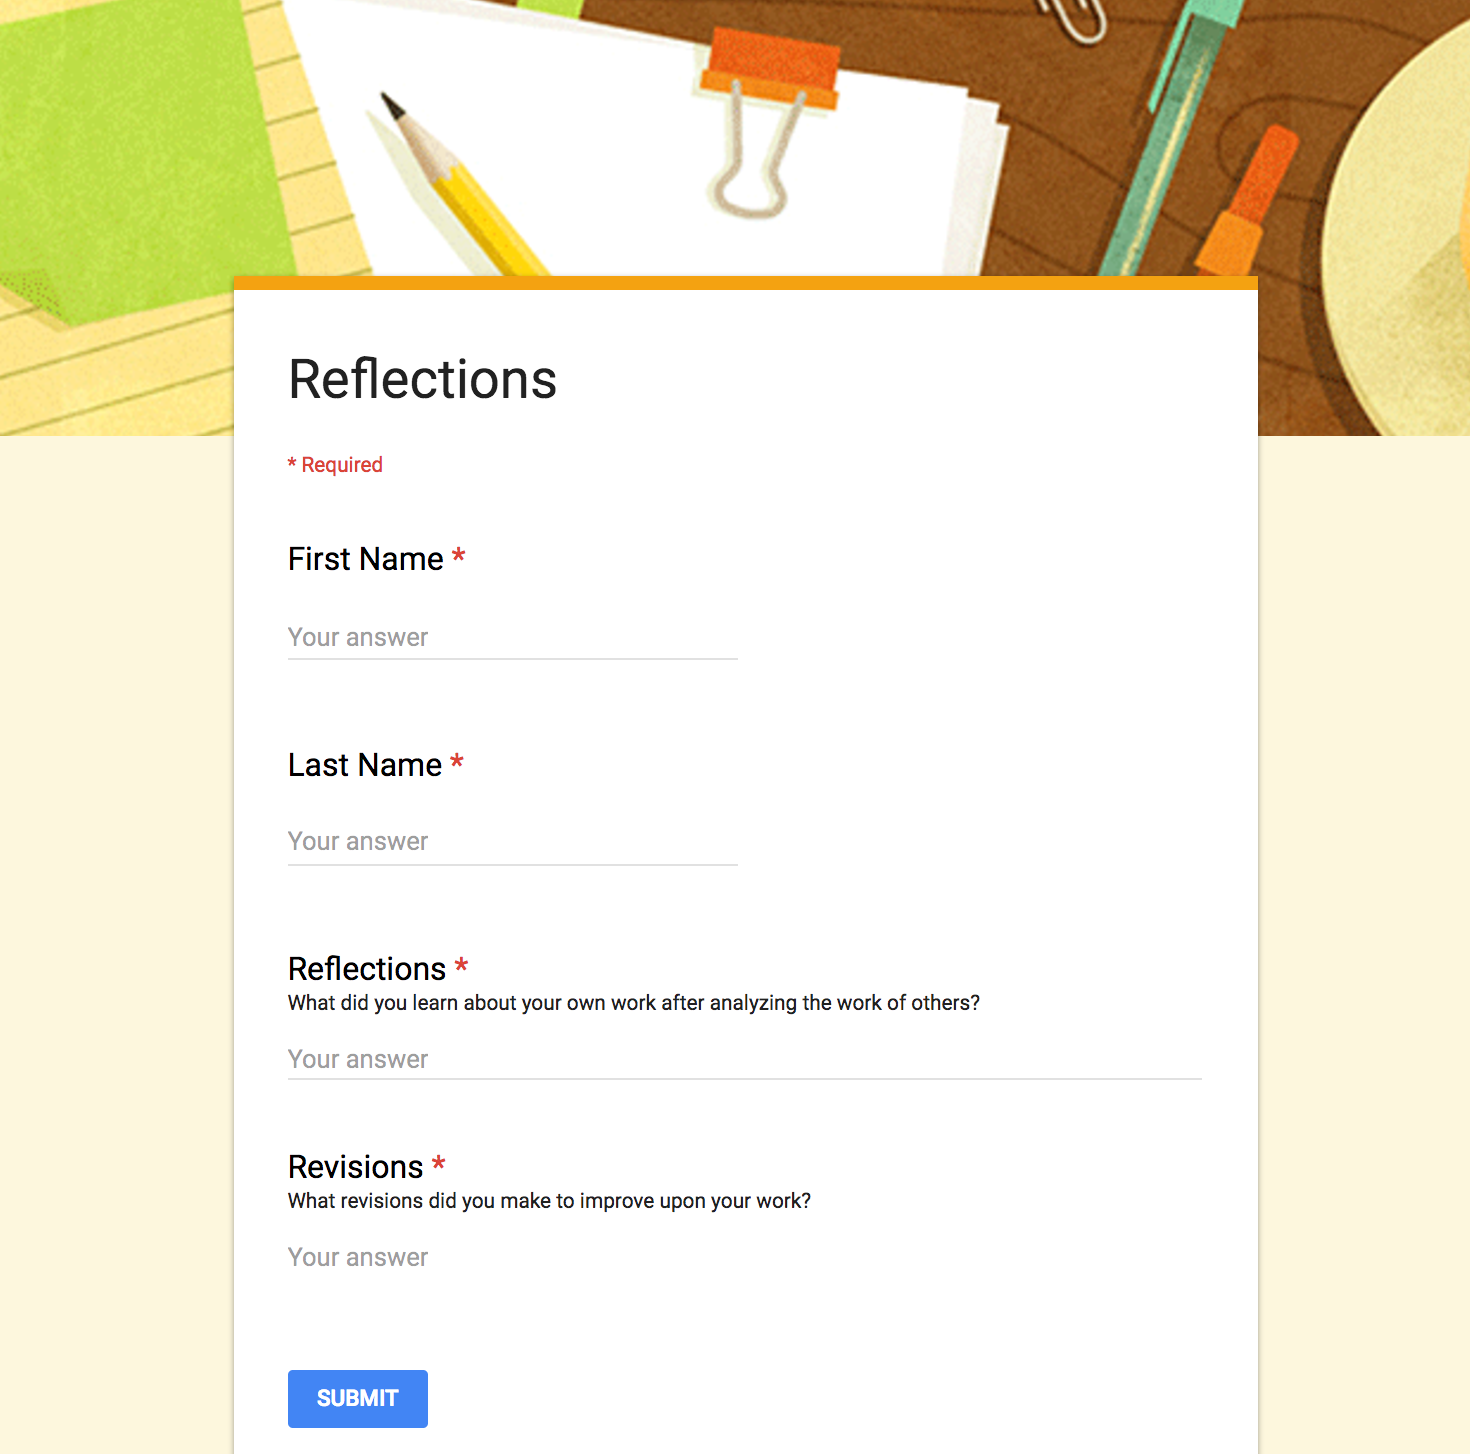
After completing this project, my students wrote blog posts about what they learned, and they published their projects and reflections on their own individual blogs. Because my students are connected with other classrooms around the country, they received many compliments on their work from peers outside our school. In the end, this project gave my students a greater appreciation for people with disabilities, and they were able to share their epiphanies with an authentic audience through their blogs.

---
This post is also published on the Buck Institute for Education PBL Blog

Wednesday, May 31, 2017

8 Ways for Students to Reflect on Their Learning


How do we know our students are truly learning? Teachers often use tests and essays to gauge student achievement. And although these methods are useful ways to measure student performance, they place most of the responsibility of analysis on the teacher. What if students were also involved in actively analyzing their mastery?

In my classroom, student reflection is regularly woven into each unit of study throughout the year. Below are eight ways I’ve found to encourage and promote this very important cognitive skill.

1. Blogging
All my student have their own blog, and in addition to writing on topics of their choosing, I often also ask them to write about what they’ve learned from  a lesson I’ve taught. My prompt usually includes variations of the following questions: After studying this unit, what conclusions can you draw? What do you think of the ideas and skills we covered during our lesson? What do you think about what you learned? Did you find these lessons meaningful or valuable? Why or why not? To learn more about incorporating student blogs into your teaching, check out my post “How to Inspire a New Generation of Writers Through Blogging.”

2. Websites
All my students also have their own website, which is  a great way to showcase the projects they’ve worked on in my class. For each assignment they add to their site, I ask them to write a short paragraph of explanation and reflection. Because I teach in a G Suite for Education district, my students use Google Sites, but there are also many beautiful website builders like Wix and Weebly that students might find equally easy to use.

3. Padlet
I love Padlet, a virtual bulletin board where students can share ideas and crowdsource information. If building a website seems a bit daunting, then Padlet is a great alternative — it’s very easy to use. Students can post their projects on a Padlet and reflect on what they’ve learned.

4. Google Slides
Google Slides is not just a tool for creating presentations, it can also be used as a digital book. Think of each slide as a page in a book, and you get the idea. Students can upload or import each assignment into a separate slide, and write a short explanation for each one. With lots of fonts, colors and layouts to choose from, a reflective paragraph never looked so pretty.

5. Google Forms
What better way to keep things quick and simple than by collecting reflective responses in a Google Form? I love that Google Forms populates all responses into one spreadsheet. No need to click on 175 different files to read 175 paragraphs. You can also use the same form throughout the year to have students reflect on different assignments, since all responses are timestamped. Below is an example of a form I use in my class for this purpose.


6. Google Classroom
When I want my students to write a short paragraph, I often turn to Google Classroom. Using its “Create Question” feature, I can quickly ask my students a reflective question, and they can post their replies. I can also decide if I want their answers to be viewable by only me, or if I want them to read and respond to each other’s ideas. What better way to promote reflection than to have students interact and evaluate each other’s responses?

7. Screencasts
Not only is screencasting a fantastic tool for reflection, it promotes fluency skills as well. Students can open a digital assignment on their computer and record themselves talking about what they’ve learned from the lesson as they show the project on their screen. Some popular screencasting tools include Screencastify, QuickTime, Explain Everything and PowerPoint 2016. This list includes both free and paid software. Some are Web-based or specific to Mac, iOS or Windows platforms.

8. Student-Designed Assessments
Since last year, I have given my students the option of designing their own assessments. I first ask them to consider what skills and content they learned from a particular unit. For example, after reading Martin Luther King, Jr.’s “I Have a Dream” and Dolores Huerta’s “Proclamation of the Delano Grape Workers for International Boycott Day,” I asked them to reflect (in small groups) on their takeaways from the lesson. They replied: “We learned many rhetorical strategies and how they help make a speech powerful and convincing.” They also realized that “words are as powerful as actions,” and “problems can also be solved without violence.” After pinpointing the goals of the lesson, we craft a rubric together to identify the criteria that will be used to evaluate their assessment. Students have fun working on this project, and I love seeing their creativity.

A Reflective Classroom
As a teacher, I want my students to become independent learners and critical thinkers. I truly believe that in order to learn, one has to be reflective. If you have found ways to encourage reflection in your students, please share your thoughts in the comments below.

Originally published on KQED's "In the Classroom" blog. Reproduced courtesy of KQED.

Tuesday, March 21, 2017

Real News, Fake News or Opinion? Teaching Our Students to Discern the Difference

Image Credit: Matylda Czarnecka / CC BY-SA 2.0 

It used to be so easy to distinguish between truth and fiction. In previous years, I would focus on just teaching my students the difference between fact and opinion. Now the Internet has become a murky river of information, and buzzwords like “fake news” and “alternative facts” have become real concerns of an educated society. How do we teach our students to discern all these differences in this post-truth era?

Below are some ideas, lessons, and resources to use in the classroom. You'll want to adapt them to suit your needs or cater them to meet the ability level of your students.

Question the Publisher
Many students use search engines to look up information, and they often click on the first link at the top of the page. Very rarely do they stop and look at the URL before launching the website. They usually assume that if the information exists, then it must be true. Each of my students has his or her own blog in my class, and I use this as an example of how easy it is for anyone to publish their content on the Internet. I train my students to question the reliability of the publisher first before using the information from a website.

Credibility Rationale
When my students come across a website that they think they might want to use, they are instructed to read the “About Us” page. Sometimes students have trouble locating this information because the page might be named differently. It is helpful to let them know that it may be called “Our Company,” “Our Story” or some variation of this wording. Sometimes a website is published by the subsidiary of a parent company, and they will have to visit the parent company’s website to find out more information. If the publisher’s background is unknown or if the webpage is written by an author without a biography linked to it, my students are not allowed to use it as a source.

After identifying the publisher, students must then justify their choice by explaining why they think they have found a credible source. I call this the “credibility rationale,” and they must write a paragraph explaining their choice. I created a Google doc to help my students through this process, and the link to this file can be found here. Feel free to make a copy of it and customize it for your class.

Taking It a Step Further
The above lesson idea is a great first step to introducing the concept of evaluating a website for its credibility. To take it a step further, I recommend two excellent resources when gathering research material.
  1. Jim Kapoun's "Teaching undergrads WEB evaluation: A guide for library instruction" (published on the Princeton University Library’s website)
This resource has guiding questions that students can use to determine whether the source they found is credible. They are asked to examine each website for its accuracy, authority, objectivity, currency and coverage.
Robert Harris’s CARS Checklist has an easy-to-remember method for determining the legitimacy of published work. CARS stand for Credibility, Accuracy, Reasonableness and Support.

Google Advanced Search
Most students go straight to Google when searching for information. Though great when shopping for merchandise or other personal uses, it is not always the best method to use when conducting academic research. A great alternative is Google Advanced Search. It allows you to narrow down your search by omitting specific words or searching exact websites. For example, you can enter “.gov” or “.edu” in the box that asks for site or domain, and limit your search results to just government or university-owned websites.

Fake News or Real News
Sometimes we surf the Internet for information, but there are also times when information is delivered to us through social media or shared directly with us by our circle of acquaintance. In our digital world, where headlines can go viral rather quickly, our students are now also being exposed to unreliable information from the Internet. There have been many incidences where fake news now masquerade as real news, which can carry detrimental consequences. So what can we do as educators? Below are some lesson ideas and resources from various organizations that are tailored for the classroom.
  1. The News Literacy Project: Ten Questions For Fake News Detection

Fact or Opinion
In addition to discerning the credibility of websites, sometimes I find that my students have trouble understanding the difference between fact or opinion, even when reading a bona fide source. In my English language arts classroom, my students often quote from a text as evidence to support their claim. Though this is great for writing literary essays, this method doesn’t always work when writing an argument if the supporting evidence is gleaned from informational text. For example, I once overheard one student argue that “the quote is a fact because it’s in the article.” I realized that I had to quickly explain the difference between a statement of fact and a statement of opinion.

To help my students discriminate between fact and opinion, I like to use ReadWorks Digital, which provides thousands of non-fiction texts for the classroom and gives students the ability to annotate a text using the built-in highlighting and commenting tool. In addition, each text also comes with vocabulary support and comprehension questions.

To teach my lesson about fact vs. opinion, I first instruct my students, who are working in teams, to highlight all phrases that are factual. Second, I tell them to go back to their highlighted text and choose a different color to identify facts that are more specific, facts that contain a statistical data, or precise information like names or dates. Then, each team copies and pastes this information into a table in a Google doc that is shared with the class. This table has two columns: General Facts and Specific Facts. Next, each team is assigned to evaluate the answers of another team. They must determine if they believe the other team has correctly sorted the information under the right column. During this process, some teams will discover that another team has incorrectly identified a phrase or sentence as factual when it is actually an opinion. After sharing their feedback with each other, arguing over the answer, and defending their responses, each team walks away better able to tell the difference between fact and opinion.

When News Companies Publish Opinions
Another area students need help with is knowing the difference between a news story and an editorial. Often students are under the assumption that the job of all news companies is to report events. It’s important to point out that many news agencies have an opinion section as well. The New York Times Learning Network has a great lesson to teach this concept: News and ‘News Analysis': Navigating Fact and Opinion in The Times.

An Educated and Democratic Society
The advancement of technology has enabled us to search for almost anything we want, instantly. With information traveling at what seems to be supersonic speed, it is more important than ever to equip our students with the skills they need to make intelligent and fact-based decisions. They must thoroughly understand the difference between fact, fiction and opinion. How else can our students become informed citizens and critical thinkers in a democratic society?
Originally published on KQED's "In the Classroom" blog. Reproduced courtesy of KQED.

Monday, January 2, 2017

Pause Before Downloading: Rules and Resources for Reusing Digital Content in the Classroom

Duke Ellington Visit” by U.S. Department of Education / CC BY 2.0
Why can’t I use this picture?” This is a question my students often ask whenever they are looking for images on the Internet for projects they create in my class.

My response is always this: “If you go into a store and you see merchandise you like on the sales floor, can you take it without paying for it?”

In this era of digital media, where almost everything is searchable and downloadable, it’s easy to see why students, and even teachers, think that it’s perfectly fine to reuse another’s creator’s work. However, this is not always true.

Myths and Facts
Let’s look at some commonly held misperceptions of copyright law.

Myth No 1: You can always claim fair use.
Fact: Fair use isn’t a legislative right, it’s a legal defense you can use in a court of law. However, that doesn’t mean you will avoid legal repercussion simply by using this argument. To learn more, read Harvard University’s guide on copyright and fair use.

Myth No. 2: If it’s copyright protected, then you can’t use it.
Fact: The creator of the work owns the copyright. If you are able to obtain permission from the creator, then you can reproduce it.

Myth No. 3: It’s not copyright protected because it doesn’t say that it is.
Fact: It depends on when the work was originally created. Copyright laws have been amended a few times over the course of the 20th century, so you’ll have to check the work in question. However, as of March 1, 1989, all work is automatically copyright protected, and a copyright notice isn’t necessary for work to receive this protection. The United States Copyright Office explains this in more detail here.

Myth No. 4: As long as you cite the creator of the work, you don’t have to worry about copyright.
Fact: Citing work avoids plagiarism, but you can be in danger of copyright infringement. Check out this explanation from Duke University Libraries’ Web page for further clarification.

Solution
How can students incorporate media into their projects without violating copyright laws? Luckily, there are three options:
  1. Use creative work that is accompanied by a Creative Commons license. Creative Commons is an organization dedicated to helping creators share their work with the world. People who publish their work with a Creative Commons license are allowing others to reuse their work on their terms.
  2. Use work in the public domain. These creations are not subjected to copyright laws because either the copyright has expired or the creator has decided to give up his or her rights to the work. In the latter example, creators will declare this on their work.
  3. Create original work. Students are incredibly creative. Depending on their talents and inclinations, they can create hand-drawn illustrations, make their own computer graphics or take their own photographs. With the right digital tools, students can create their own original videos, music, images or audio.

Project Resources
I’ve gathered a few resources for students to use when incorporating media created by others. Don’t forget to tell students to verify the usage rights of all works before using them. In addition, keep in mind that when searching on the Internet, there is always the potential to come across inappropriate content. Before using any of the following search engines, check that it has been vetted by your school’s content filters. Also, tell your students to turn on SafeSearch — if it’s an option on the website.

  1. Creative Commons Search allows you to search for Creative Commons–licensed images, videos and music.
  2. Google Advanced Image Search allows you to filter your search, by image size, aspect ratio, color and more. The most important thing to remember is to scroll down to the end of the search fields and choose the correct “Usage rights” option.
  3. Pixabay is a website with many beautiful public domain images. Remember not to click on the sponsored links (those are not in the public domain), and you’ll find many great options.
  4. Photosforclass is fantastic for the classroom. All photos are all Creative Commons licensed, filtered for appropriate images and come with an automatic citation when you download a photo.
  5. Openclipart provides clipart that is all in the public domain
  6. Flickr This link will take you to Flickr’s search portal. You must click on “any license” to filter for the correct license.
  7. Wikipedia usually features work with Creative Commons license or those in the public domain.
  8. Pics4learning states on its homepage that it offers “a curated image library that is safe and free for education. Teachers and students can use the copyright-friendly photos and illustrations for classroom projects, websites, videos, portfolios or any other projects in an educational setting.”
  9. Foter has free stock photos. When choosing an image, users are guided through an attribution process that could be helpful for students.
  10. Library of Congress is the government’s website of online prints and photographs.

Giving Credit Attribution
As with textual research, giving credit is always something we should teach our students. However, most students are unsure how to cite images in their projects. Though MLA or APA citations are appropriate for academic papers, these look clumsy in a project or in published media. When providing attribution, include the name of the work (if known), the name of the creator and the usage rights. Also, include hyperlinks to the creator and the Creative Commons license in the citation. Here is an example of how to cite images with hyperlinks: “Beach” by Sean MacEntee / CC BY 2.0. To download an infocard to show students how to include credit attribution, click here.

Time to Get Students Creating
In the 21st century, understanding how to properly use digital content is an essential skill. Following copyright laws isn’t difficult if students follow guidelines and use the right resources. Isn’t it time we showed them how?

Originally published on KQED's "In the Classroom" blog. Reproduced courtesy of KQED.

Monday, April 25, 2016

Maximize Learning with Digital Tools: Moving from Consumption to Creation

“Students as Creators” © 2016 Alice Chen | All Rights Reserved
We are starting to see them pop up more frequently in U.S. classrooms: the iPads, the Chromebooks, and the laptops. As more schools move toward using technology in the classroom, we are faced with the question of how to use these devices effectively in our instruction.

Undoubtedly, it's an exciting time to be an educator. We are no longer limited to just using textbooks or curriculum guides. The number of apps and websites available to us has exploded exponentially in the online educational space. Students are using math apps to brush up on much-needed skills. They can watch science videos that bring concepts to life. With social media, they are able to access the latest news within minutes of the occurrence of an event. However, is that all we wish our students to be able to do, to only become consumers of information?

I believe that students should be using technology to its fullest potential in the classroom. This means that not only should students be using it to access the wealth of information on the Internet but that they also should be using digital tools to create meaningful content from what they have consumed.

Cross-Curricular Integration
Though I teach English Language Arts, I believe in integrating other academic content whenever possible. I always try to provide a scientific or historical perspective when the lesson lends itself, and PBS LearningMedia is perfect for this purpose. This fantastic and free online platform has over 100,000 resources available that covers topics from all content areas and grade levels.

For example, my students just finished reading a wide selection of speeches for our rhetoric unit. We studied various speeches for their beauty of language, persuasive elements, and powerful message. One of my favorite speeches from this unit is Martin Luther King, Jr.’s “I Have a Dream.” I want this speech to come to life for my students and for them to also appreciate the historical significance of this time period. Below is my approach to teaching this piece by leveraging digital media resources and Google Drawings.

Lesson Plan for “I Have a Dream”
  1. Introduce the Civil Right Movement by showing students these media pieces: "The Legacy of the Gettysburg Address" and "Civil Rights and the 1950s | Crash Course US History #39".
  2. Students read "I Have a Dream" in groups, stopping to discuss each paragraph and the rhetorical strategies Dr. King used.
  3. Divide the speech into different sections and have each group create a Padlet to demonstrate their understanding of this piece. Each group must include the following components: a quoted passage, an explanation of the quote, two analysis of the rhetorical strategies used, and proper attribution for any media they included. Here is an example that my students created.
  4. Based on the information from the three historical documents above, students create a 21st century flyer advertising the event. Below is an example of one group’s work on this project.

“Digital Flyer” © 2016 Anisha & Jake | All Rights Reserved
Using Digital Tools for Authentic Assessment
Instead of giving my students a traditional test to assess their comprehension of the significance of the speech and the historical documents they examined, I prefer to have my students express their understanding by creating an authentic product. Because I’m constantly trying to cultivate my students’ creativity and critical thinking skills by emulating the “real world” as much as possible, I also emphasize the importance of artistic design when creating a project. I find that this last step is often overlooked in our instruction. However, in life, how an idea is presented is just as important as the idea itself, and I want my students to realize this.

Let’s Get Them Creating
My students used Padlet and Google Drawings for this particular lesson, but there are also a plethora of other digital tools that students can use to foster their creativity. Below is a list of digital creation tools that are great for the classroom. It is no means an exhaustive list, but many students find them fun and easy-to-use.
  1. Thinglink makes images and videos interactive
  2. Canva is easy to use design software with templates for infographics, posters, and more
  3. Storybird is a beautiful app that inspires writing with art
  4. Powtoon makes creating animated presentations full of awesome
  5. Zoodle Comics a comic strip app for the iPad
  6. Sock Puppets if you love sock puppets…
  7. Video editing tools (i.e. YouTube Editor, WeVideo)
  8. Screencasting tools (i.e. Snagit, Screencast-O-Matic, Screencastify, Movenote, Explain Everything)
Which digital tools do your students like to use to show what they know? Please share in the comments below.

Originally published on KQED's "In the Classroom" blog. Reproduced courtesy of KQED.