 |
| Image Credit: Ulrich Wechselberger / Public Domain
Traditionally, teachers have always determined the pace and format of all their lessons. What if we shake things up a bit in our classrooms and give students more control over how they learned instead? What if we put students in the driver’s seat of learning, let them design their own lessons and allow them to be teachers for the day?
Relinquishing control of one’s classroom may seem a bit scary or chaotic, but it doesn’t have to be that way if we provide the guidance and structure students need. Below are the steps I took to ensure my students were designing meaningful lessons for their peers. I allowed students the option of working alone or in groups of their own choosing.
Teaching Specific Skills and Content
Narrow down the standards, skills, or content that the lesson must address. This helps students determine the focus of their lesson. For example, in my language arts class, all groups were challenged with teaching a chapter of a novel we were reading. Each lesson must address a literary element present in the chapter, and students were to choose from this list: characterization, conflict, theme, figurative language (symbolism, metaphor, simile, or hyperbole), setting or mood.
Instructional Materials
Students had to design the instructional material for their lesson. They could create handouts or use presentation software like Google Slides to fulfill this requirement.
Assessments
I asked my students these questions: What will your peers do to show that they have learned the content you taught? How will you evaluate each student individually and collect data on their learning? I really enjoyed the different approaches my students took to create their assessments. Many used Kahoot, a web-based gaming platform that tapped into their peers’ competitive spirits as they tried to best each other. Using this digital tool, lesson designers developed their own questions and determined the answers. Kahoot will reward players with points based on two criteria: the correct answer and student response time. Other lesson designers had students write their responses on Google Slides, Google Forms, or Google Docs. Others created Jeopardy games and tempted students with candy to encourage participation. (Check out this great Jeopardy template from Eric Curts’ blog.) Some students opted for a non-digital route and passed out handouts or had classmates answer questions on a sheet of paper. I let my students determine the method they preferred.
Conference with Students
Before teaching their lesson, I met with each group to make sure their lessons were meaningful. I also checked for errors and questioned them on their workflow. For example, one group created a template in Google Docs for their assessment. Their plan was to have each student make a copy of the template, but they didn’t think about how they were going to collect these individual copies. I suggested they use a Google Form to collect the links to the individual files. I also pointed out that if the assignment asked students to write a short response, then using Google Form where all the answers would be populated into one spreadsheet is more efficient than collecting over 35 individual files.
The Day of the Lesson
To ensure that all lessons were focused and productive, each group had to teach a concept or skill and give an assessment in approximately 15 minutes. This helps keep the lessons interesting and the students engaged. The peer teachers were addressed as “Mr.” or “Ms.” which everyone found extremely amusing. During the lesson, students also enjoyed having command of the classroom and would gleefully direct peers who were off-task to pay attention.
Peer Assessment
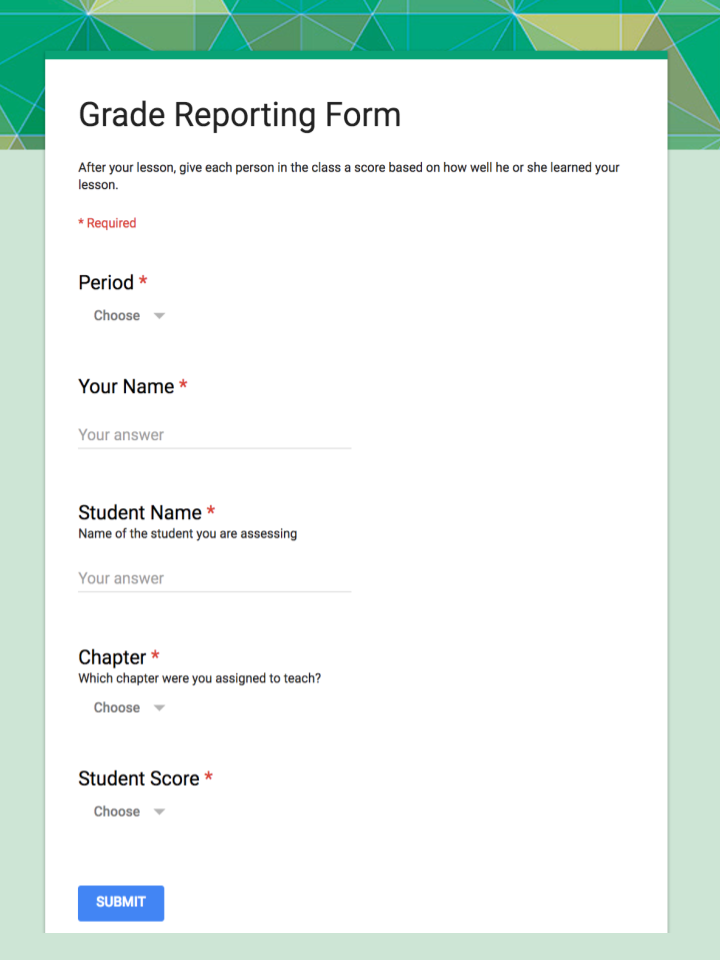
After all lessons were taught, each group met to assess the data they collected from their peers. They had to determine a method for assigning grades, and I loved the discussions that arose over how to do this fairly. Each group would report a score for each student in the class. Then, I averaged the scores each person received from all the lessons that were taught and used that as a participation grade.
Reflections
Not only did the students assess their peers for their participation in the lesson, they were also asked to evaluate their peer teachers and to nominate those who gave great lessons. In turn, they also evaluated their own teaching practice by answering the following questions:
1. What skills did you teach your peers?
2. How effective was your lesson? How do you know?
3. What can you do to improve your lesson?
The responses to this project were overwhelmingly positive. My students truly enjoyed this activity, and countless students commented on how challenging it was to be a great teacher. One of my favorite responses came from a student who wrote, “I learned that it is not easy to be a teacher. It takes time and dedication to actually learn to teach properly.” Also, quite a few came to the conclusion that “being a lesson designer and presenter is harder than it looks.” Many also shared that creating a lesson forced them to learn the material better because they were responsible for becoming experts on their chapter.
Empowering Our Students
By giving students voice and choice, we are cultivating our students’ investment in their own learning. This project also fosters many college and career-ready skills such as decision-making, project management, analysis, collaboration, communication and metacognition. Not only did I enjoy seeing my students bring new energy into our classroom environment, but they had a blast, too.
Let’s empower students by giving them more control over their own learning in the classroom. The end result might surprise you as much as it did me.
Originally published on KQED's "In the Classroom" blog. Reproduced courtesy of KQED. |

Showing posts with label Language Arts. Show all posts
Showing posts with label Language Arts. Show all posts
Saturday, September 30, 2017
Empowering Students with Peer-Designed Lessons
Wednesday, May 31, 2017
8 Ways for Students to Reflect on Their Learning
How do we know our students are truly learning? Teachers often use tests and essays to gauge student achievement. And although these methods are useful ways to measure student performance, they place most of the responsibility of analysis on the teacher. What if students were also involved in actively analyzing their mastery?
In my classroom, student reflection is regularly woven into each unit of study throughout the year. Below are eight ways I’ve found to encourage and promote this very important cognitive skill.
1. Blogging
All my student have their own blog, and in addition to writing on topics of their choosing, I often also ask them to write about what they’ve learned from a lesson I’ve taught. My prompt usually includes variations of the following questions: After studying this unit, what conclusions can you draw? What do you think of the ideas and skills we covered during our lesson? What do you think about what you learned? Did you find these lessons meaningful or valuable? Why or why not? To learn more about incorporating student blogs into your teaching, check out my post “How to Inspire a New Generation of Writers Through Blogging.”
2. Websites
All my students also have their own website, which is a great way to showcase the projects they’ve worked on in my class. For each assignment they add to their site, I ask them to write a short paragraph of explanation and reflection. Because I teach in a G Suite for Education district, my students use Google Sites, but there are also many beautiful website builders like Wix and Weebly that students might find equally easy to use.
3. Padlet
I love Padlet, a virtual bulletin board where students can share ideas and crowdsource information. If building a website seems a bit daunting, then Padlet is a great alternative — it’s very easy to use. Students can post their projects on a Padlet and reflect on what they’ve learned.
4. Google Slides
Google Slides is not just a tool for creating presentations, it can also be used as a digital book. Think of each slide as a page in a book, and you get the idea. Students can upload or import each assignment into a separate slide, and write a short explanation for each one. With lots of fonts, colors and layouts to choose from, a reflective paragraph never looked so pretty.
5. Google Forms
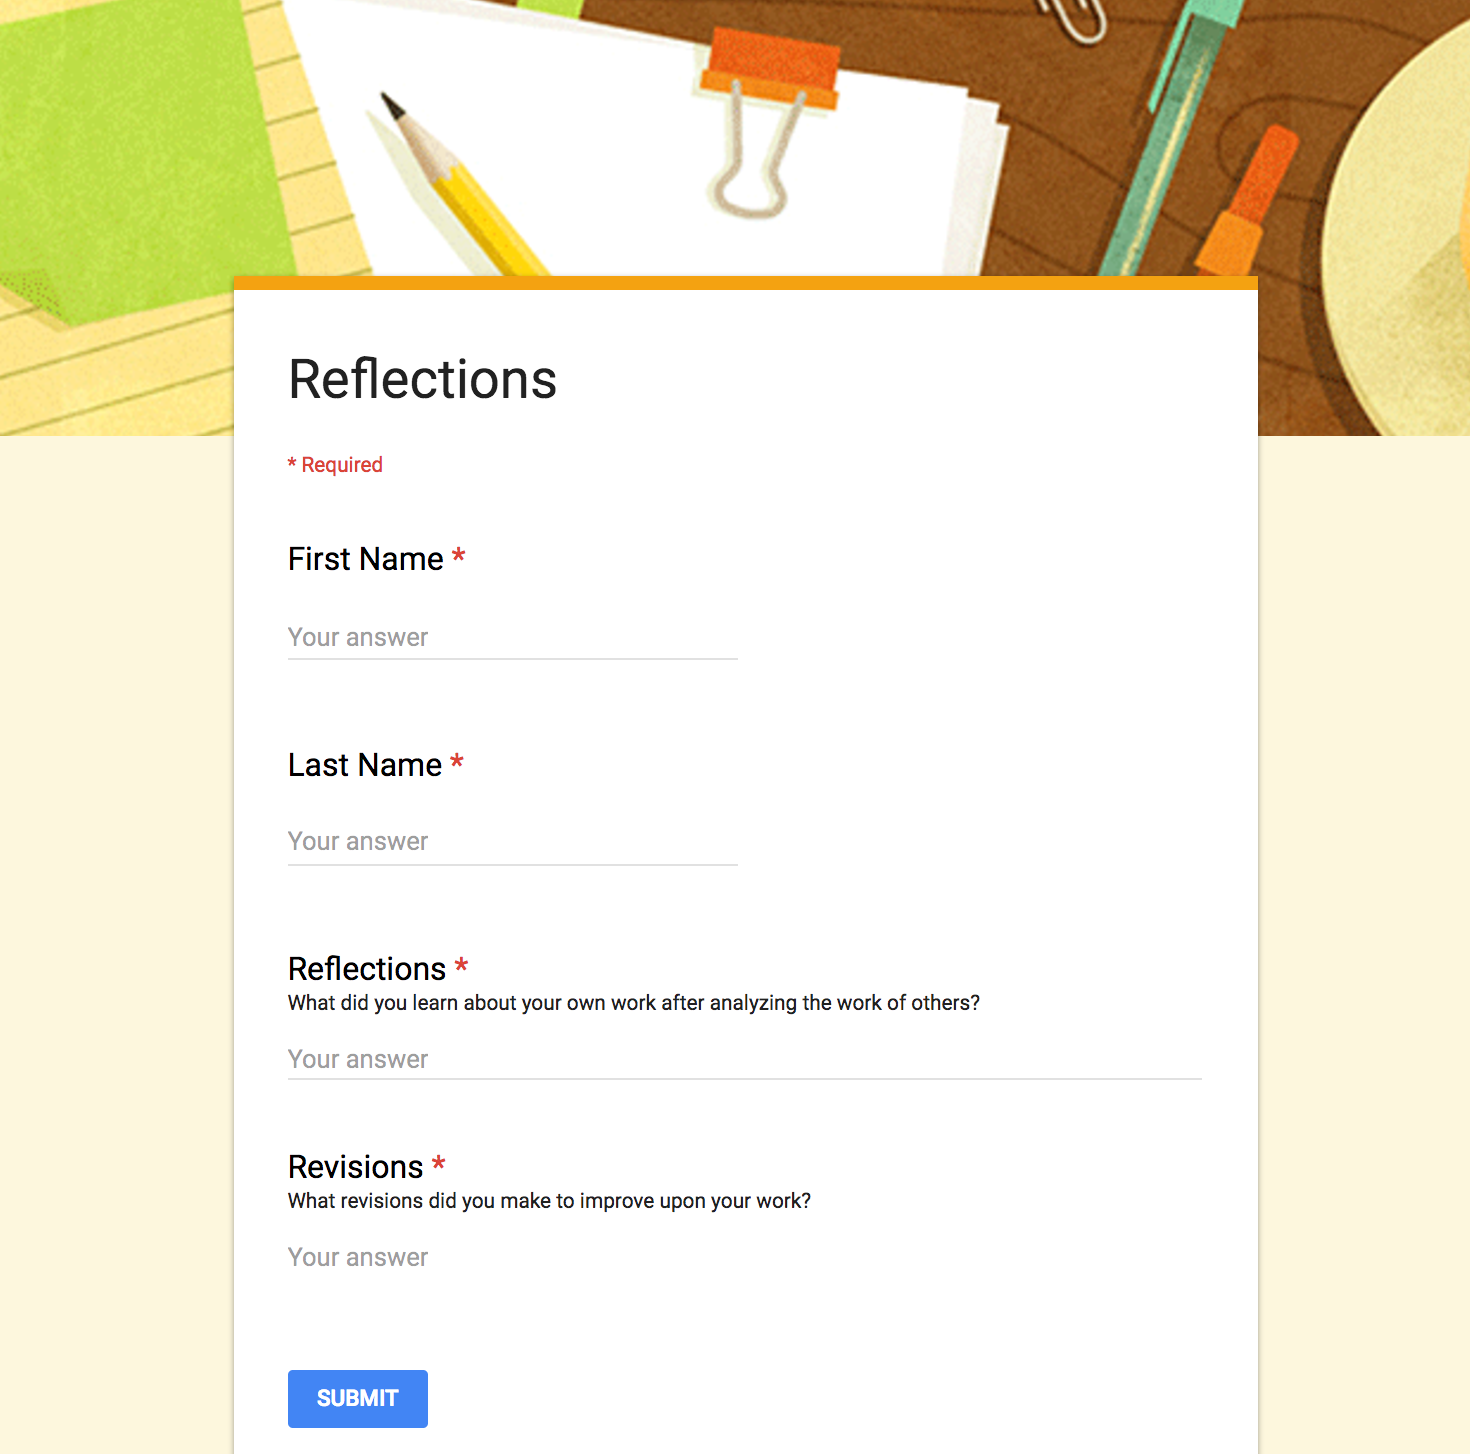
What better way to keep things quick and simple than by collecting reflective responses in a Google Form? I love that Google Forms populates all responses into one spreadsheet. No need to click on 175 different files to read 175 paragraphs. You can also use the same form throughout the year to have students reflect on different assignments, since all responses are timestamped. Below is an example of a form I use in my class for this purpose.
6. Google Classroom
When I want my students to write a short paragraph, I often turn to Google Classroom. Using its “Create Question” feature, I can quickly ask my students a reflective question, and they can post their replies. I can also decide if I want their answers to be viewable by only me, or if I want them to read and respond to each other’s ideas. What better way to promote reflection than to have students interact and evaluate each other’s responses?
7. Screencasts
Not only is screencasting a fantastic tool for reflection, it promotes fluency skills as well. Students can open a digital assignment on their computer and record themselves talking about what they’ve learned from the lesson as they show the project on their screen. Some popular screencasting tools include Screencastify, QuickTime, Explain Everything and PowerPoint 2016. This list includes both free and paid software. Some are Web-based or specific to Mac, iOS or Windows platforms.
8. Student-Designed Assessments
Since last year, I have given my students the option of designing their own assessments. I first ask them to consider what skills and content they learned from a particular unit. For example, after reading Martin Luther King, Jr.’s “I Have a Dream” and Dolores Huerta’s “Proclamation of the Delano Grape Workers for International Boycott Day,” I asked them to reflect (in small groups) on their takeaways from the lesson. They replied: “We learned many rhetorical strategies and how they help make a speech powerful and convincing.” They also realized that “words are as powerful as actions,” and “problems can also be solved without violence.” After pinpointing the goals of the lesson, we craft a rubric together to identify the criteria that will be used to evaluate their assessment. Students have fun working on this project, and I love seeing their creativity.
As a teacher, I want my students to become independent learners and critical thinkers. I truly believe that in order to learn, one has to be reflective. If you have found ways to encourage reflection in your students, please share your thoughts in the comments below.
Originally published on KQED's "In the Classroom" blog. Reproduced courtesy of KQED.
Monday, April 25, 2016
Maximize Learning with Digital Tools: Moving from Consumption to Creation
 |
| “Students as Creators” © 2016 Alice Chen | All Rights Reserved |
We are starting to see them pop up more frequently in U.S. classrooms: the iPads, the Chromebooks, and the laptops. As more schools move toward using technology in the classroom, we are faced with the question of how to use these devices effectively in our instruction.
Undoubtedly, it's an exciting time to be an educator. We are no longer limited to just using textbooks or curriculum guides. The number of apps and websites available to us has exploded exponentially in the online educational space. Students are using math apps to brush up on much-needed skills. They can watch science videos that bring concepts to life. With social media, they are able to access the latest news within minutes of the occurrence of an event. However, is that all we wish our students to be able to do, to only become consumers of information?
I believe that students should be using technology to its fullest potential in the classroom. This means that not only should students be using it to access the wealth of information on the Internet but that they also should be using digital tools to create meaningful content from what they have consumed.
Cross-Curricular Integration
Though I teach English Language Arts, I believe in integrating other academic content whenever possible. I always try to provide a scientific or historical perspective when the lesson lends itself, and PBS LearningMedia is perfect for this purpose. This fantastic and free online platform has over 100,000 resources available that covers topics from all content areas and grade levels.
For example, my students just finished reading a wide selection of speeches for our rhetoric unit. We studied various speeches for their beauty of language, persuasive elements, and powerful message. One of my favorite speeches from this unit is Martin Luther King, Jr.’s “I Have a Dream.” I want this speech to come to life for my students and for them to also appreciate the historical significance of this time period. Below is my approach to teaching this piece by leveraging digital media resources and Google Drawings.
Lesson Plan for “I Have a Dream”
- Introduce the Civil Right Movement by showing students these media pieces: "The Legacy of the Gettysburg Address" and "Civil Rights and the 1950s | Crash Course US History #39".
- Students read "I Have a Dream" in groups, stopping to discuss each paragraph and the rhetorical strategies Dr. King used.
- Divide the speech into different sections and have each group create a Padlet to demonstrate their understanding of this piece. Each group must include the following components: a quoted passage, an explanation of the quote, two analysis of the rhetorical strategies used, and proper attribution for any media they included. Here is an example that my students created.
- Students examine the following primary sources provided by PBS LearningMedia: the original pamphlet advertising the 1963 March on Washington, the manual for march participants, and the March on Washington official program.
- Based on the information from the three historical documents above, students create a 21st century flyer advertising the event. Below is an example of one group’s work on this project.
 |
| “Digital Flyer” © 2016 Anisha & Jake | All Rights Reserved |
Using Digital Tools for Authentic Assessment
Instead of giving my students a traditional test to assess their comprehension of the significance of the speech and the historical documents they examined, I prefer to have my students express their understanding by creating an authentic product. Because I’m constantly trying to cultivate my students’ creativity and critical thinking skills by emulating the “real world” as much as possible, I also emphasize the importance of artistic design when creating a project. I find that this last step is often overlooked in our instruction. However, in life, how an idea is presented is just as important as the idea itself, and I want my students to realize this.
Let’s Get Them Creating
My students used Padlet and Google Drawings for this particular lesson, but there are also a plethora of other digital tools that students can use to foster their creativity. Below is a list of digital creation tools that are great for the classroom. It is no means an exhaustive list, but many students find them fun and easy-to-use.
- Thinglink makes images and videos interactive
- Canva is easy to use design software with templates for infographics, posters, and more
- Storybird is a beautiful app that inspires writing with art
- Powtoon makes creating animated presentations full of awesome
- Zoodle Comics a comic strip app for the iPad
- Sock Puppets if you love sock puppets…
- Video editing tools (i.e. YouTube Editor, WeVideo)
- Screencasting tools (i.e. Snagit, Screencast-O-Matic, Screencastify, Movenote, Explain Everything)
Which digital tools do your students like to use to show what they know? Please share in the comments below.
Originally published on KQED's "In the Classroom" blog. Reproduced courtesy of KQED.
Thursday, July 30, 2015
Creating an Environment That Discourages Plagiarism
 |
| Image Credit: Shelley Shott, Intel Free Press / CC BY 2.0 |
In my English Language Arts class, my students are constantly writing. It may be blog posts, essays, or speeches. In previous years I've never had access to Turnitin to check for plagiarism, and even though my district has decided to subscribe to this service next semester, I don't plan to change my approach to teaching writing. This is because I prefer to be proactive, rather than reactive. So how do I know that my students are truly the authors of the work they call their own?
First, my students start and complete most of their writing in class. When given time to write, there is less inclination to cheat.
Second, I scaffold them throughout the writing process. If it's an essay, we brainstorm the ideas in class, and we crowdsource the evidence they need to support their opinions. I have students post their thesis statements on Schoology's discussion platform or using the "Create Question" feature in Google Classroom. Then, my students agree or disagree (respectfully, of course) by either supporting or refuting the posted thesis statement with evidence from the text. This natural dialogue helps them practice their arguments before they even start to plan the essay.
Next, students write their essays on a Google Doc, using the information from their mindmaps or essay planner. As they write, I set up opportunities for students to give each other feedback. I instruct them on which specific criteria to focus on and how to give each other formative feedback. As they work on this, I also monitor their essays, jumping in as necessary to provide even more feedback.
After this process, students revise their essays based on comments they've received. When this draft is finished, I give them a self-assessment to complete. Then, they have the opportunity to revise their essay once more before turning it in. For each step of their writing process, I provide scaffolds and feedback for their writing.
After all the planning, drafting, and conferring in class, there is no need to plagiarize. From this point on, it'll take more work for students to look for someone else's work to copy.
If we equip our students with the skills they need, give them the time to write, provide them with our guidance, and cultivate the support of their peers, there is less incentive to plagiarize. However, I didn't take this approach to teaching writing because of plagiarism. I use this method because I believe in scaffolding and giving my students the tools they need to succeed. The decline of plagiarism was just a byproduct of this approach to writing instruction.
Thursday, May 7, 2015
Are You Teaching Your Students to be Unintentional Plagiarists?
 |
| "Gasp" by Halimae / CC BY 3.0 |
Sometimes plagiarism is intentional. Sometimes it's not. But neither are acceptable.
During the year, my students spend a good deal of time learning to cite evidence and identifying their sources when writing essays or research-based speeches. However, do students apply this practice when creating other types of content? Do they understand that when they reuse someone else's creations (images, videos, etc.) without permission that they may be plagiarizing and violating copyright laws? Do teachers know this?
How does this apply to nontraditional forms of classroom writing? All of my students have their own blogs, and some enjoy writing posts about their favorite athletes or a game they just watched. They often incorporate facts they read from other sources, but they fail to identify where they found this information. This is when my students forget the concept of plagiarism. Perhaps this is because they don't associate blogging with academic writing since blogging isn't commonly taught in schools. However, this is still not okay.
Some educators are guilty of the same mistake. I know I used to be. When we are looking to spice up our lessons, we may search for ideas on the Internet. Sometimes we come across a great idea and a lesson is born. But how many are actually acknowledging that their lessons originated from someone else's hard work? Sure, ideas are not copyright protected, and we're not breaking any laws. (Unless we are lifting words and content from someone else's work and reusing that for our own needs without the consent of the creator. Then, yes, that is illegal.)
We need to remember that plagiarism is the act of appropriating another person's idea without credit attribution regardless of the purpose behind our actions. This may not always fall under the jurisdiction of the law, but it does under the court of ethics.
In my "9 C's of Digital Literacy," I pointed out that we should be teaching about character when teaching digital literacy. I believe that we should be encouraging our students to be advocates of ethical practices even if not legally required.
So now I make it a point to include either of the following sentences on my assignments if the situation applies: "This lesson was inspired by _____" or "This lesson idea originated from ______" with a link to this person's work.
If we want to teach our students to do the right thing, shouldn't we be modeling these behaviors as well? It takes so little effort to acknowledge another person for his or her hard work. Isn't it time we started? Sometimes the best lessons are the ones we don't explicitly teach, and many times those are the ones that leave the biggest impact on our students.
Tuesday, April 7, 2015
Do You Really Have the Right to Use That?
 |
| "Copyright Symbol" by Mike Seyfang / CC BY 2.0 |
In this post, I’ve put together a quick guide to help educators better understand this concept and to help them teach students the need to respect the work of others.
Quick Guide to Copyright, Fair Use & Public Domain
Copyright
- Only expressions of ideas are copyright protected. (However, appropriating someone else's idea without credit attribution is plagiarism.)
- As of March 1, 1989, all work is copyright protected the moment it is created.
- Copyright registration is not required to copyright a creator’s work. (It is, however, helpful in ligation cases to establish proof of copyright.)
What fair use usually allows (however, there are exceptions)
- Criticism and comments
- News reporting
- Research and scholarship
- Nonprofit educational uses
- Parody
- Noncommercial uses
Does it qualify under Fair Use?
It depends on how you use the work. Each case is unique, and there is no guarantee that the courts will rule in your favor. These are the questions usually considered in a court of law when determining fair use.
- Is this an entirely new creation?
- What is the purpose of using this work?
- Will you be competing with the creator of the original work?
- How much of the original work are you using? (You can only reproduce a small portion of the work.)
- What quality and essence of the original work are you using? (There is no magic percentage that protects you under Fair Use. If it is the “heart and soul” of the work, even reproducing a tiny fraction of the work could be considered a violation of copyright laws.)
How to Determine If a Work Is in the Public Domain (United States Only)
The table below is created from information published by Stanford University Libraries’ “Welcome to the Public Domain.”
Publication
|
In the Public Domain
|
Work published before 1923
|
Yes
|
Work published between 1923 and 1963
|
Work has copyright status for the first 28 year, but has to be renewed to retain copyright status
|
Work published between 1993 and February 28, 1989
|
If the work has no copyright notice and “the law has not made an exception for its omission, then the work is the public domain.”
|
Work created by the government
|
Usually
|
Sources
"Taking the Mystery Out of Copyright (Library of Congress)." 2007. 15 Feb. 2015
"The 'Fair Use' Rule: When Use of Copyrighted Material is Acceptable." 2011. 28 Jan. 2015
"Welcome to the Public Domain - Stanford Copyright & Fair Use." 2013. 25 Jan. 2015
This guide cannot be substituted for legal advice and should not be construed as such. The information contained herein is based on the works cited above.
Subscribe to:
Posts (Atom)